이미지/비디오에서 마스크 착용여부 감지
Updated:
- Mask detection
- Info
- Observations
- 환경 및 실습
Info
- Dependencies:
- Python 3+
- TensorFlow 2+
- OpenCV
- numpy
- matplotlib
- Reference
observations
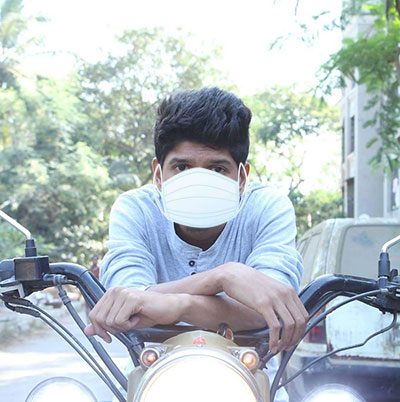
코로나 바이러스로 생활 속 마스크 착용은 대부분(?)의 사람들에게 당연한 일상이 되었다. 대중교통 이용시 마스크 착용 의무화와 관련하여 마스크 착용감지를 하는 모델을 만들어보자.
모델파일 추가한 github(원본 말고 이것을 사용하세요)

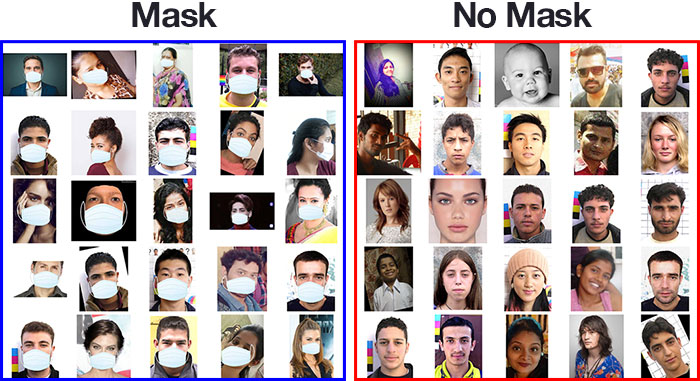
모델 학습을 위해 다음 2가지 data가 필요함.
- 마스크를 착용한 사람의 이미지
- 마스크를 착용하지 않은 사람의 이미지

원본 제작자의 아이디어는 실제 마스크를 착용한 사람의 이미지를 사용하는 것이 아니라 <사람의 얼굴 사진 -> 얼굴 감지 -> 스노우 앱과 비슷한 기능으로 마스크 모양의 이미지를 얼굴에 덮어씌움> 라는 과정으로 input data를 생성해줌.
train data/test data 나누기와 모델링 생략
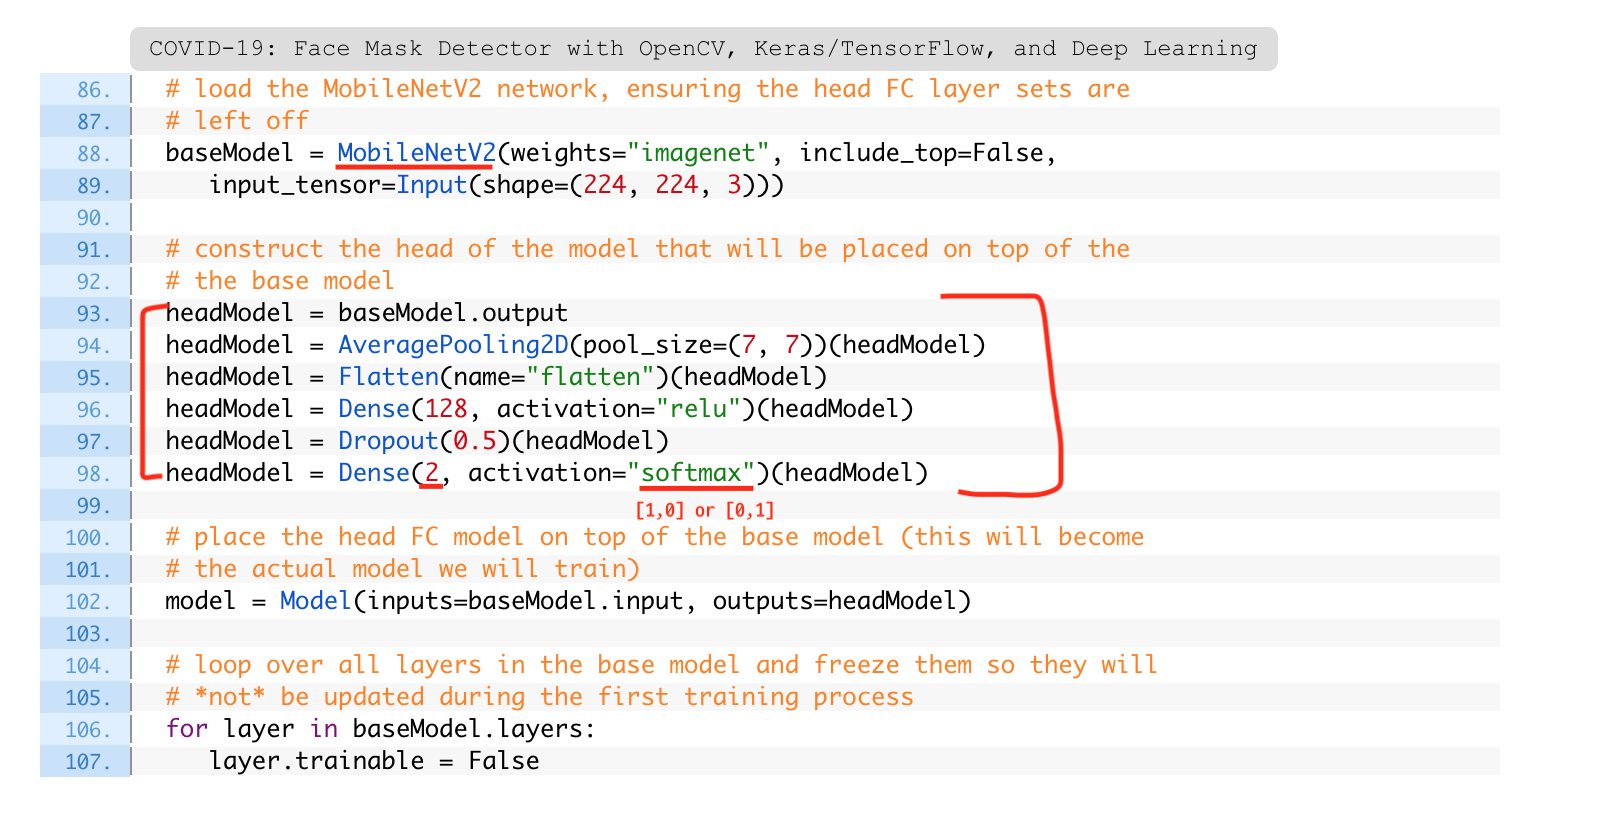
전이학습의 방법 사용

+ 최적화 방법

0. 코랩 환경에서 시작
- 우선 편하게 진행할 수 있도록 제 깃허브에서 repository를 클론합니다.
!git clone https://github.com/gachonyws/face-mask-detector.git
- 디렉토리 이동 후 작업 시작
cd face-mask-detector/
1. 모델 로드
from tensorflow.keras.applications.mobilenet_v2 import preprocess_input
from tensorflow.keras.models import load_model
import numpy as np
import cv2
import os
import matplotlib.pyplot as plt

# 사진 속에서 얼굴을 탐지하는 face_detector 모델
facenet = cv2.dnn.readNet('face_detector/deploy.prototxt','face_detector/res10_300x300_ssd_iter_140000.caffemodel')
# 얼굴인식 후 마스크 착용 여부를 확인하는 모델
model = load_model('mask_detector.model')
2. 이미지 로드
img = cv2.imread('/content/face-mask-detector/examples/example_01.png')
h,w = img.shape[:2]
plt.figure(figsize=(16,10))
plt.imshow(img[:,:,::-1]) # BGR -> RGB 변환

3. Preprocessing for Face Detection
blob = cv2.dnn.blobFromImage(img, scalefactor=1.0, size=(300, 300), mean=
	(104.0, 177.0, 123.0))
facenet.setInput(blob) # 모델에 들어가는 input
detections = facenet.forward() # 결과를 inference
4. Detect Faces
faces = []

# 사진속 얼굴 개수가 여러 개 있을 수 있으니 반복문 사용
for i in range(detections.shape[2]):
  confidence = detections[0,0,i,2]

  if confidence < 0.5:
    continue
  else:
     x1 = int(detections[0,0,i,3] * w)
     y1 = int(detections[0,0,i,4] * h)
     x2 = int(detections[0,0,i,5] * w)
     y2 = int(detections[0,0,i,6] * h)

     face = img[y1:y2, x1:x2]
     faces.append(face)

plt.figure(figsize=(10,5))

for i, face in enumerate(faces):
    plt.subplot(1, len(faces), i+1)
    plt.imshow(face[:, :, ::-1])

Detect Masks from faces
plt.figure(figsize=(10,5))

for i, face in enumerate(faces):
    face_input = cv2.cvtColor(face, cv2.COLOR_BGR2RGB)
    face_input = cv2.resize(face_input, dsize=(224, 224))
    face_input = preprocess_input(face_input)
    face_input = np.expand_dims(face_input, axis=0)

    (mask, nomask) = model.predict(face_input)[0]

    plt.subplot(1, len(faces), i+1)
    plt.imshow(face[:, :, ::-1])
    plt.title('%.2f%%' % (mask * 100))

이어서 동영상 재생
from tensorflow.keras.applications.mobilenet_v2 import preprocess_input
from tensorflow.keras.models import load_model
import numpy as np
import cv2
import matplotlib.pyplot as plt
import os

cap = cv2.VideoCapture('examples/03.mp4')
ret, img = cap.read()

fourcc = cv2.VideoWriter_fourcc('m', 'p', '4', 'v')
out = cv2.VideoWriter('./output.mp4', fourcc, cap.get(cv2.CAP_PROP_FPS), (img.shape[1], img.shape[0]))

while cap.isOpened():
    ret, img = cap.read()
    if not ret:
        break

    h, w = img.shape[:2]

    blob = cv2.dnn.blobFromImage(img, scalefactor=1., size=(300, 300), mean=(104., 177., 123.))
    facenet.setInput(blob)
    dets = facenet.forward()

    result_img = img.copy()

    for i in range(dets.shape[2]):
        confidence = dets[0, 0, i, 2]
        if confidence < 0.5:
            continue

        x1 = int(dets[0, 0, i, 3] * w)
        y1 = int(dets[0, 0, i, 4] * h)
        x2 = int(dets[0, 0, i, 5] * w)
        y2 = int(dets[0, 0, i, 6] * h)

        face = img[y1:y2, x1:x2]

        face_input = cv2.resize(face, dsize=(224, 224))
        face_input = cv2.cvtColor(face_input, cv2.COLOR_BGR2RGB)
        face_input = preprocess_input(face_input)
        face_input = np.expand_dims(face_input, axis=0)

        mask, nomask = model.predict(face_input).squeeze()

        if mask > nomask:
            color = (0, 255, 0)
            label = 'Mask %d%%' % (mask * 100)
        else:
            color = (0, 0, 255)
            label = 'No Mask %d%%' % (nomask * 100)

        cv2.rectangle(result_img, pt1=(x1, y1), pt2=(x2, y2), thickness=2, color=color, lineType=cv2.LINE_AA)
        cv2.putText(result_img, text=label, org=(x1, y1 - 10), fontFace=cv2.FONT_HERSHEY_SIMPLEX, fontScale=0.8, color=color, thickness=2, lineType=cv2.LINE_AA)

    out.write(result_img)
    #cv2_imshow(result_img) # colab 환경에서 출력 때문에 계속 Busy 상태라 ignore
    if cv2.waitKey(1) == ord('q'):
        break

out.release()
cap.release()

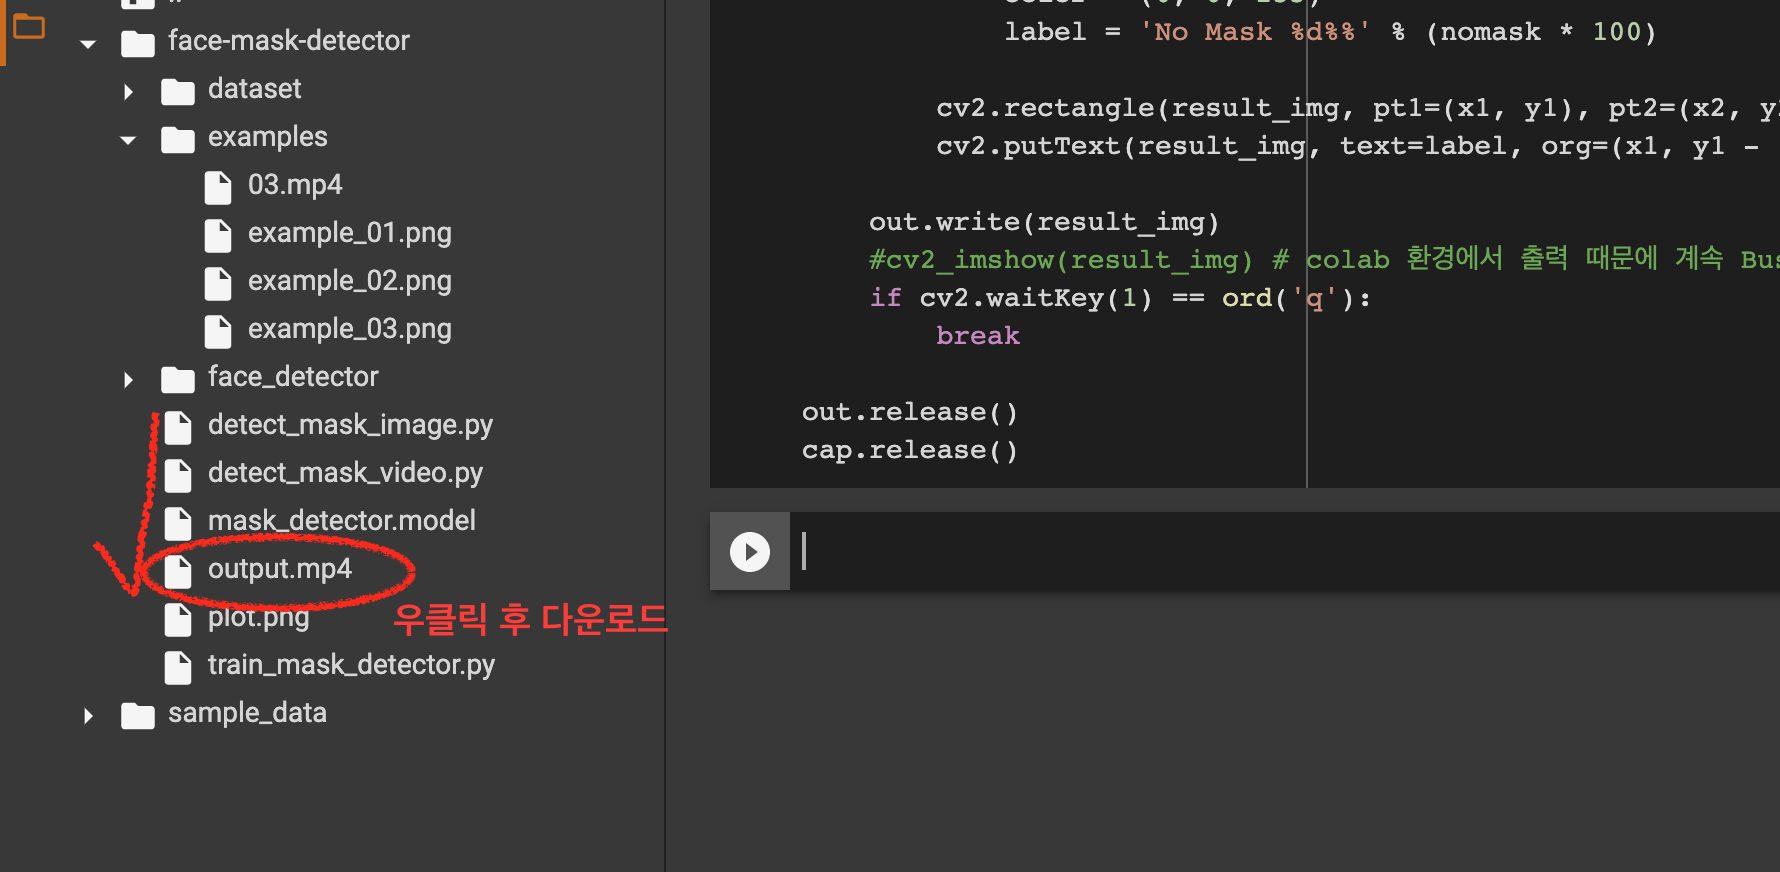
코랩 내에서 동영상 재생에 문제가 있어 결과물을 로컬로 다운받아서 재생해 보시면 됩니다.
- 결과
여러명의 사진도 정상적으로 작동 확인.

- 동영상 실행 결과
- 웹캠 라이브 녹화
IP캠이나 실시간 촬영이 가능한 카메라로 mask detection 의 결과가 no_mask 이면 경고음이 울리게 하는 등의 구현 가능. (화상 열감지 감시 등의 기능에서도 실제로 사용할 것이라고 추측)


Leave a comment